
Irrigation-Free Harvest Guide
How to plant for a bountiful garden without watering even through the harshest droughts and heat.
Welcome to a new way of growing!
Here in Central Texas, water becomes more scarce and in higher demand all the time making it more restricted and expensive as a result. And the our well water and city water is extremely hard water and the city supplied water has chemical treatments, all of which plants don’t like.
And hand watering with a hose will consume 100+ hours of your time for a single 4’ x 8’ garden bed a year with a solid chunk of that time being spent standing out in the heat of the summer where it’s HOT, even at 7AM.
We’ve adapted ancient permaculture principles for our local ecology to help you grow lush and bountiful gardens without irrigation.
Mind blowing, right?
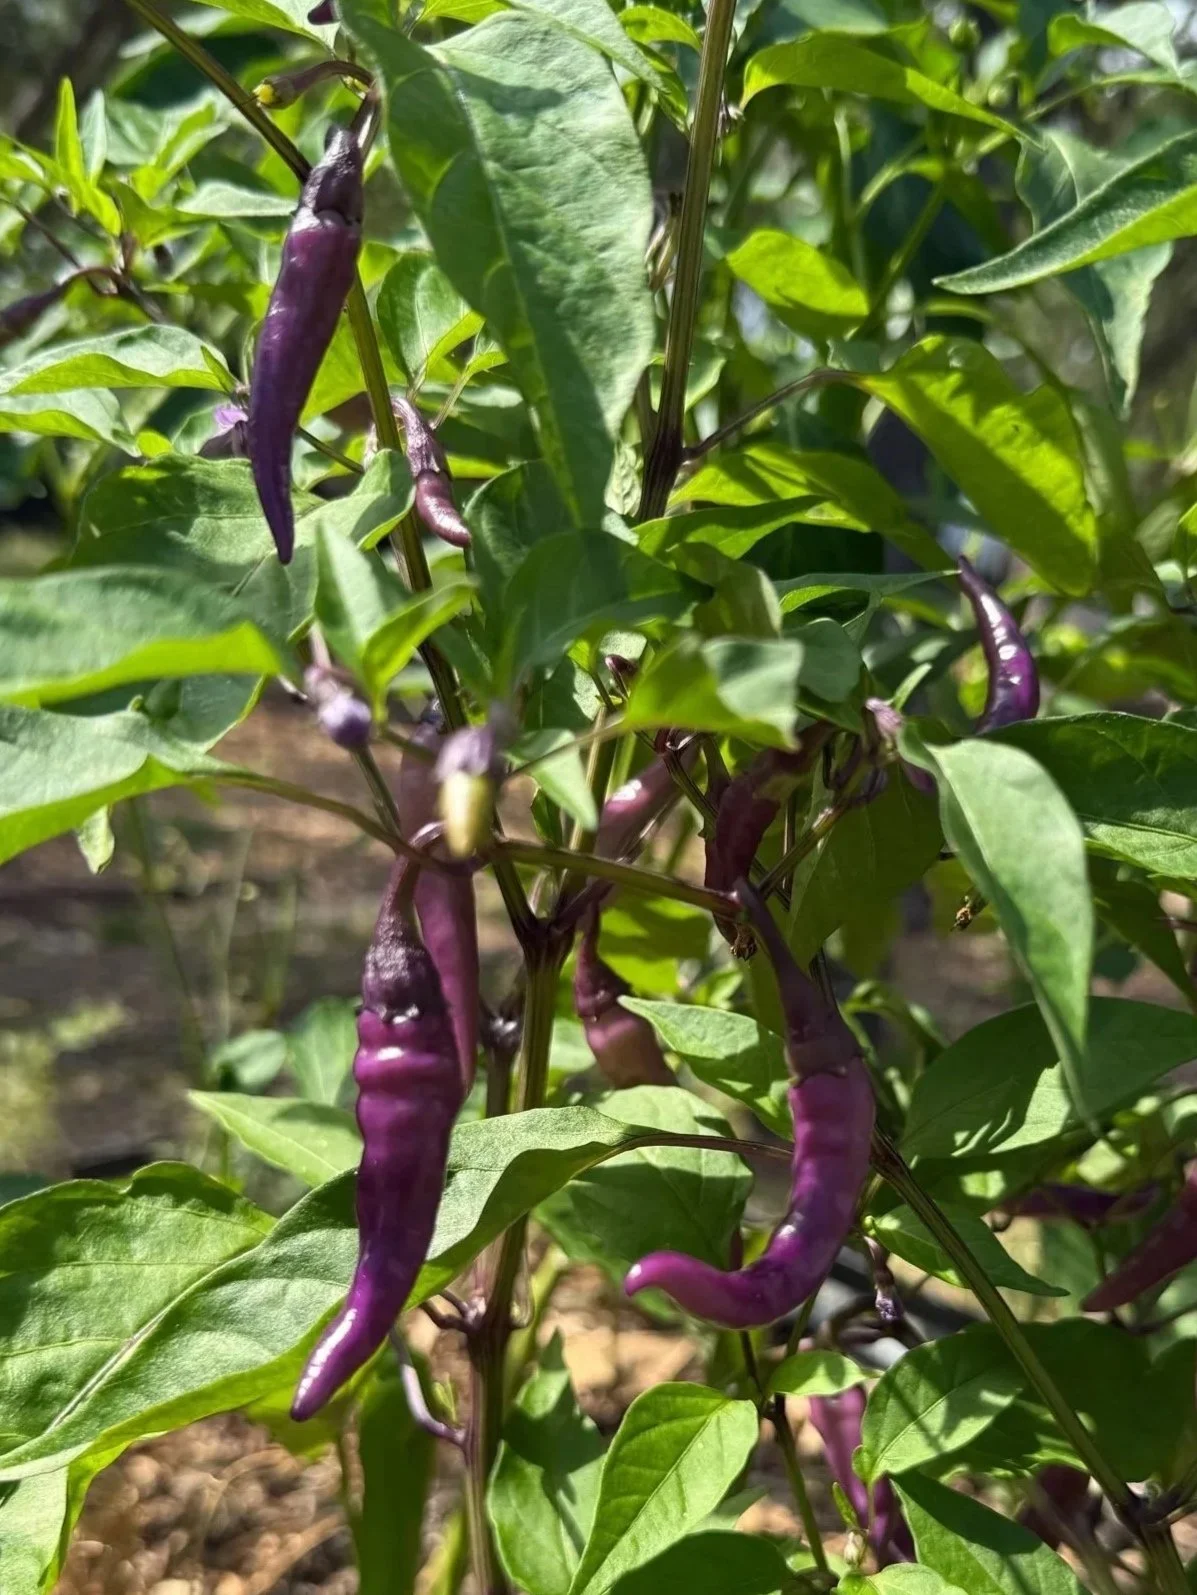
It really works. It’s how we grow our own heirlooms here on our north facing hilltop.
Here’s how.
7-Step Checklist
Quick reference field guide.
Lay Cardboard
Build the Planter
Arrange Logs
Charge Logs
Add Leaves
Add Soil
Add Mulch
Plant
The Gear List
Before you head to the lumber yard, let's make sure your kit is ready.
The Materials
Lumber
Untreated pine or cedar. Crucial: Go for 2” thickness minimum. It prevents bowing at the sides and acts as an insulator against the Texas sun!
Eco Stain
For a beautiful, non-toxic finish that protects the wood. An absolute must for pine, optional for cedar.
Screws
Stainless steel to prevent rust.
Cardboard
Clean, black ink only. Remove all tape and labels.
Oak Logs
A mix of "old" (1+ year) and fresh is ideal. Live Oak is the most readily available and the gold standard for water retention and slow nutrient release in Central Texas.
Leaves
Mulched. Year-old with visible white mold is ideal.
Soil
Local organic vegetable garden raised bed mix (bulk delivery) or 50/50 native soil and organic compost with kelp meal or fish emulsion to replenish the soil nutrients.
Mulch
Organic, untreated 1/4” fines.
Mushroom Spawn
Mushroom blocks (crumbled) or bagged powdered spawn.
The Tools
Power Drill
For assembling the frame.
Wheelbarrow
Your best friend for soil day.
1/4” Sieve
For a DIY version, staple 1/4” hardware cloth to a simple wood frame
The Basics
Shovel
Leaf rake
Heavy duty tarp
The 7-Step Build
Plan to set aside a long weekend if building together with a few family members or friends. If you’re building by yourself, we recommend planning on breaking up the time into a few hour working sessions over two weeks or a couple of weekends. The time you put into the build now will be made back in the time you save on watering in the first one to two warm weather months alone.
1. Lay the Cardboard
The Goal: Stop weeds and grass and invite the worms.
Our pervasive and persistent native weeds and grasses will climb up from under your garden and quickly take it over if you skip this step. So catch-up on some online shopping or ask around for some left over moving boxes. Remember to use only clean cardboard with black ink and remove all labels and tape. You don’t want heavy metals and micro-plastics getting into your food. A quick soak with the hose will have the labels peeling off easily. Lay your clean cardboard directly on the ground where the planter will sit. Overlap the edges and cracks by at least 6 inches and double layer if possible to prevent any unwanted plants from finding their way in. This also creates a clear path for earthworms to move between your new garden and the earth below.
2. Build the Planter
The Goal: A sturdy, insulated home for your roots that won’t wash away when the heavy rains hit and easy accessibility for working in your garden.
Dimensions: 2’ tall, 4’ wide, and at least 8’ long.
The Build: Use 2” thick minimum untreated lumber and stainless steel screws. That extra thickness will keep the sides of the bed from bowing out and it keeps the soil temperature stable when the heat hits triple digits. Apply your Eco Stain before assembly.
Pro-Tip: For the best longevity of your lumber since it will have soil contact, soak the lumber in the stain using contractor plastic per the stain’s instructions or at least soak the ends of the boards in a bucket overnight
3. Arrange the Logs
The Goal: The "Battery" of the garden.
Fill the bottom of your planter with Oak logs. Fresh logs will break down more slowly so put them on the very bottom layer. Lay 1+ year old logs on top of the fresh logs. These older logs have readily available nutrients for your plants to tap into in addition to water storage. Fill the first 1’ of your planter with these logs. Fill gaps with sticks and twigs. This step will take some time, even if your a master at Tetris.
4. Charge the Battery
The Goal: Maximize water storage.
This is the real secret to an irrigation-free garden. The logs need to be “charged” like a battery by soaking them with water before moving on to the next step. If there is a heavy rainstorm coming up, wait for it to soak your logs for you. Otherwise, give them a heavy, sustained soaking with the hose or sprinkler overnight and continue to soak them while you work on the next step.
Pro-Tip: For the best “charge”, deep soak your logs prior to arranging them in your bed by soaking them overnight using the same clean contractor plastic.
5. Add the Mulched Leaves
The Goal: Nutrient network and gap filling.
Take those Live Oak leaves we all have in abundance and mow over them to create a fine mulch. 1+ year old leaves with visible white mold are best. This white mold is mycelium! It is the white gold of the gardening world and is what will help your plants to find and share resources and even information amongst each other. Prioritize filling all remaining gaps between logs with the leaves to ensure there are no air pockets. Using a stick or even a chop stick to find the holes and work in the leaves is helpful here. Wear gloves and use your fingers to work in the rest of the leaves. Cover the logs with up to no more than 1” of leaves to ensure the roots of the plants will be able to find the logs and tap into their moisture early on.
Pro-Tip: If your using freshly fallen leaves that don’t have any white mold yet, crumble a mushroom block or sprinkle bagged mushroom spawn on top of the logs and again on top of the leaves to jump start the mycelium network.
6. Add the Soil
The Goal: Nutritious growing medium.
Plants actually only need 4 inches of soil depth to grow. 6 inches of soil depth is ideal though. And we grow our plants in 5 inch deep perennial pots so 6 inches of soil depth is the sweet spot. For a 4’ wide by 8’ long garden bed, you’ll need 2 cubic yards of soil. The best bang for your buck and best soil quality is generally a local bulk soil delivery by dump truck of premixed organic soil specifically formulated for raised garden beds. Don't forget: Lay a tarp on your driveway before the truck arrives to minimize soil spillage and make tidying up a breeze.
If you’re lucky enough to have native soil and prefer to use it, remove the limestone rocks from it and amend it with at least 50% high-quality organic compost. And add kelp meal or fish emulsion to replenish the nutrients in the soil.
Before adding soil to your garden, be sure to use your ¼” seive layed on top of your wheelbarrow to find and remove any larger pieces from your soil. Anything larger than ¼” is not soil and will impede your plants’ roots.
7. Add the Mulch
The Goal: The "Cooling Blanket."
This layer will help to trap in maintain moisture in the soil Use your 1/4" sieve to sift your organic mulch over your wheelbarrow just like you did with the soil. We want the "fines"—the smallest, softest bits that are less than ¼”. This allows your sprouts to easily push through to sunlight and provides the best protection for the plant roots beneath. Apply a generous layer over the soil. This prevents evaporation and keeps your "sponge" from drying out at the surface. Let the “rest” for 2 weeks ideally before planting so the mycelium can build a robust network for the plants to tap into.
Pro-Tip: If you have wood chips from downed Oak Trees, use this. You know for sure it has not been treated in any way. You can also source local wood chips from tree work being done in your area by neighbors, utility companies, clearing companies, etc. ChipDrop.com is a great way to connect with tree companies doing work in your area but beware it may take weeks to months before you get a delivery.